
The Picture Perfect Profile Photo.
Hello! Hello! Hello!
Today’s blog post is the first installment of the Profile Optimization Series.
Each week, I will be picking apart a different piece of the Instagram Profile to help you create perfection and attract your ideal clients on the gram. Every second counts when it comes to the Instagram Profile so, let’s dive right in.
Here are my 10 steps to the Picture Perfect Profile Photo:
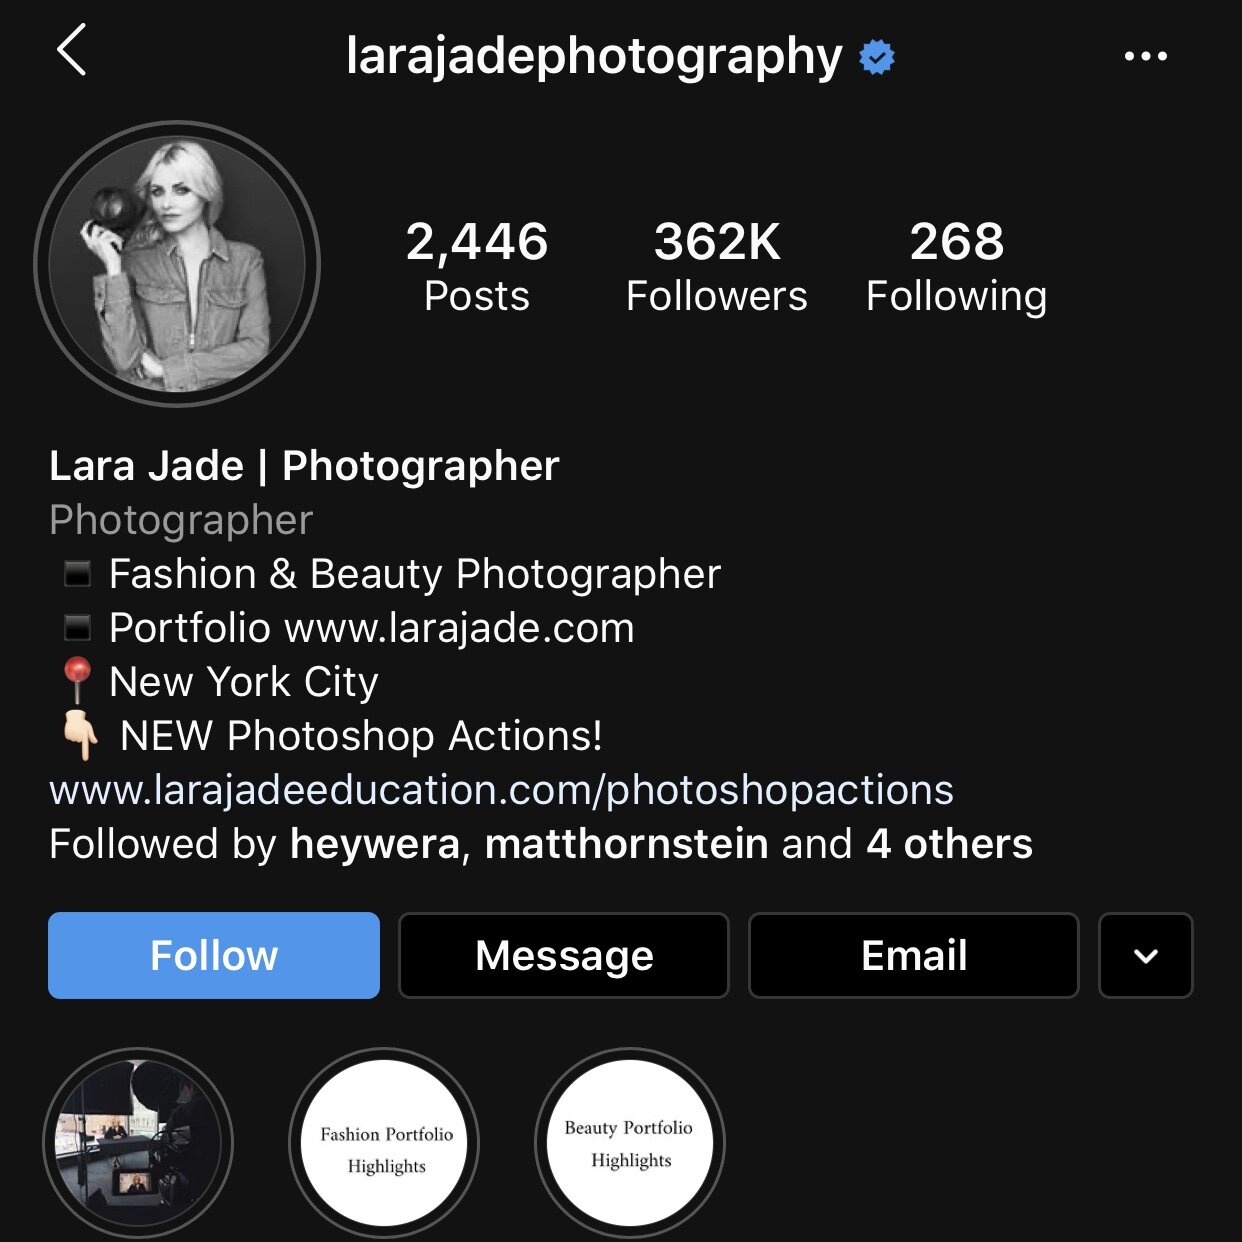
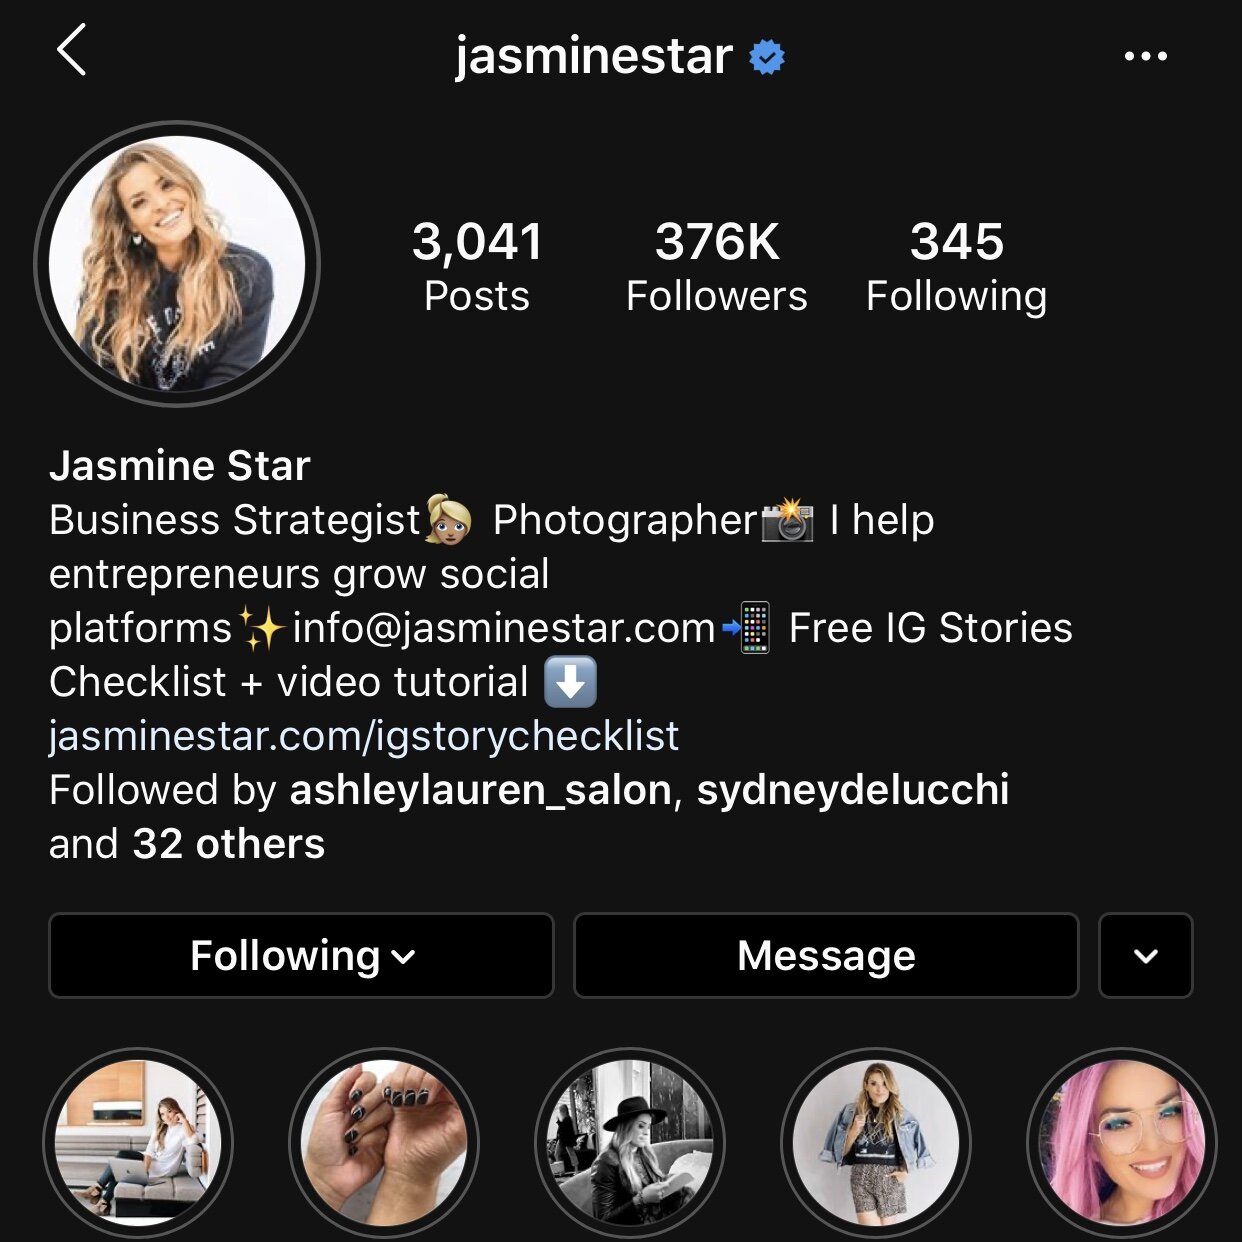
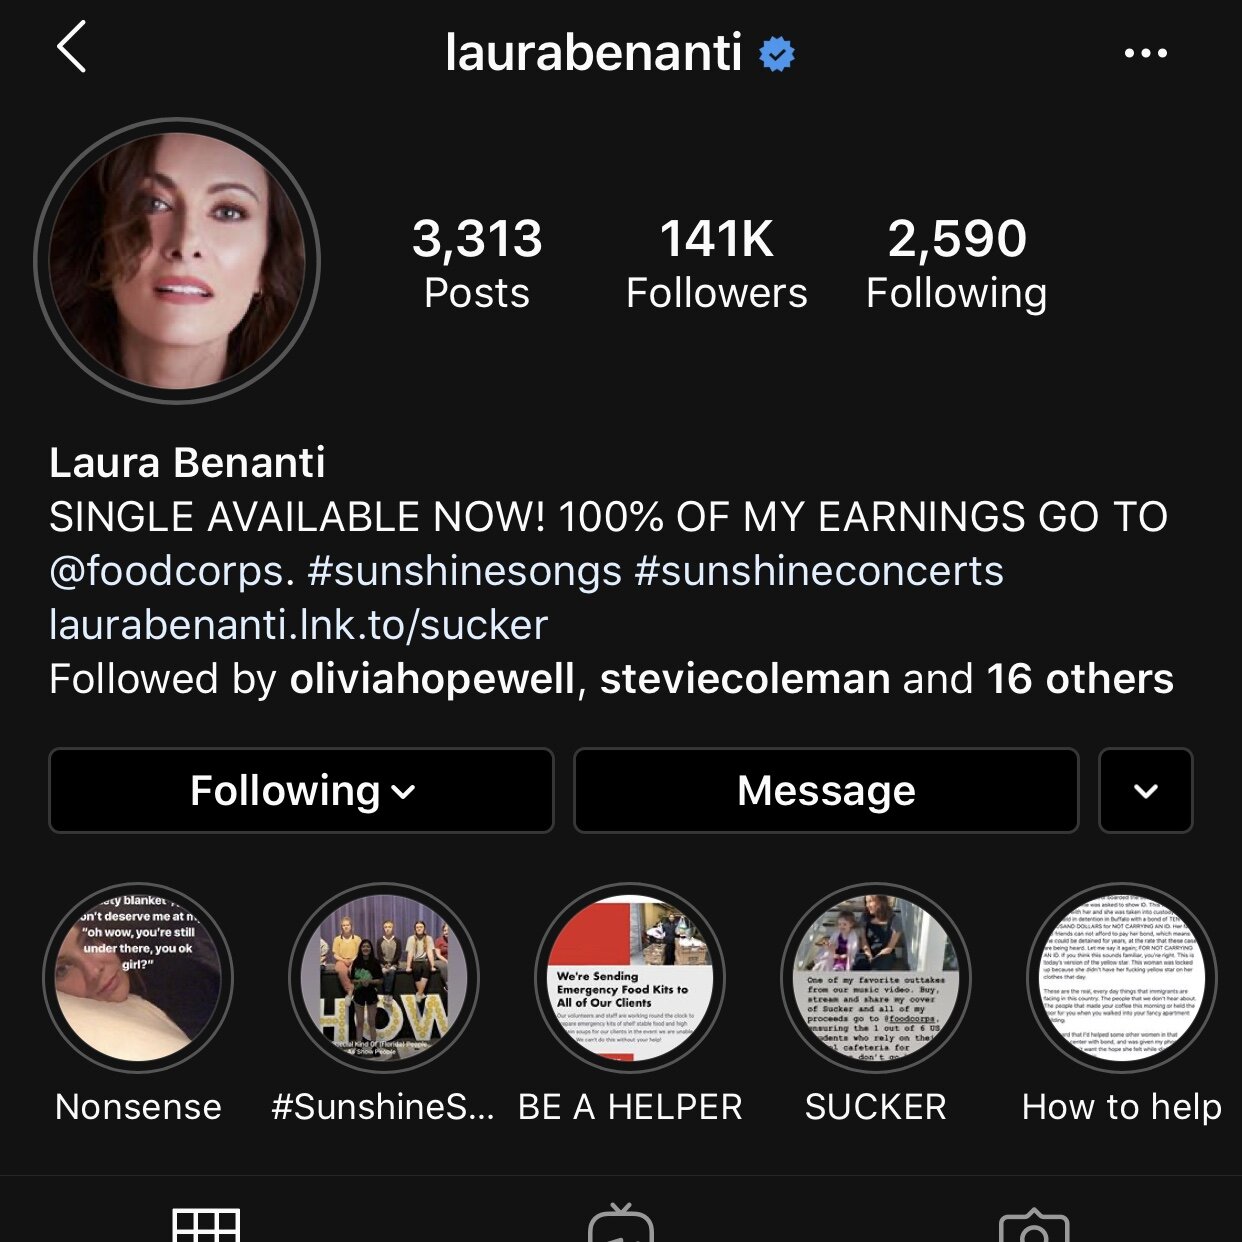
1. Your Profile Photo should accurately represent you and your brand.
This might sound obvious but just so we cover all of our bases here, if you are the face of your company, USE YOUR FACE! You can use a professional headshot, fabulous photo of you taken by a friend, or something you create yourself (using my guidance below!). Here are few examples of what this might look like:
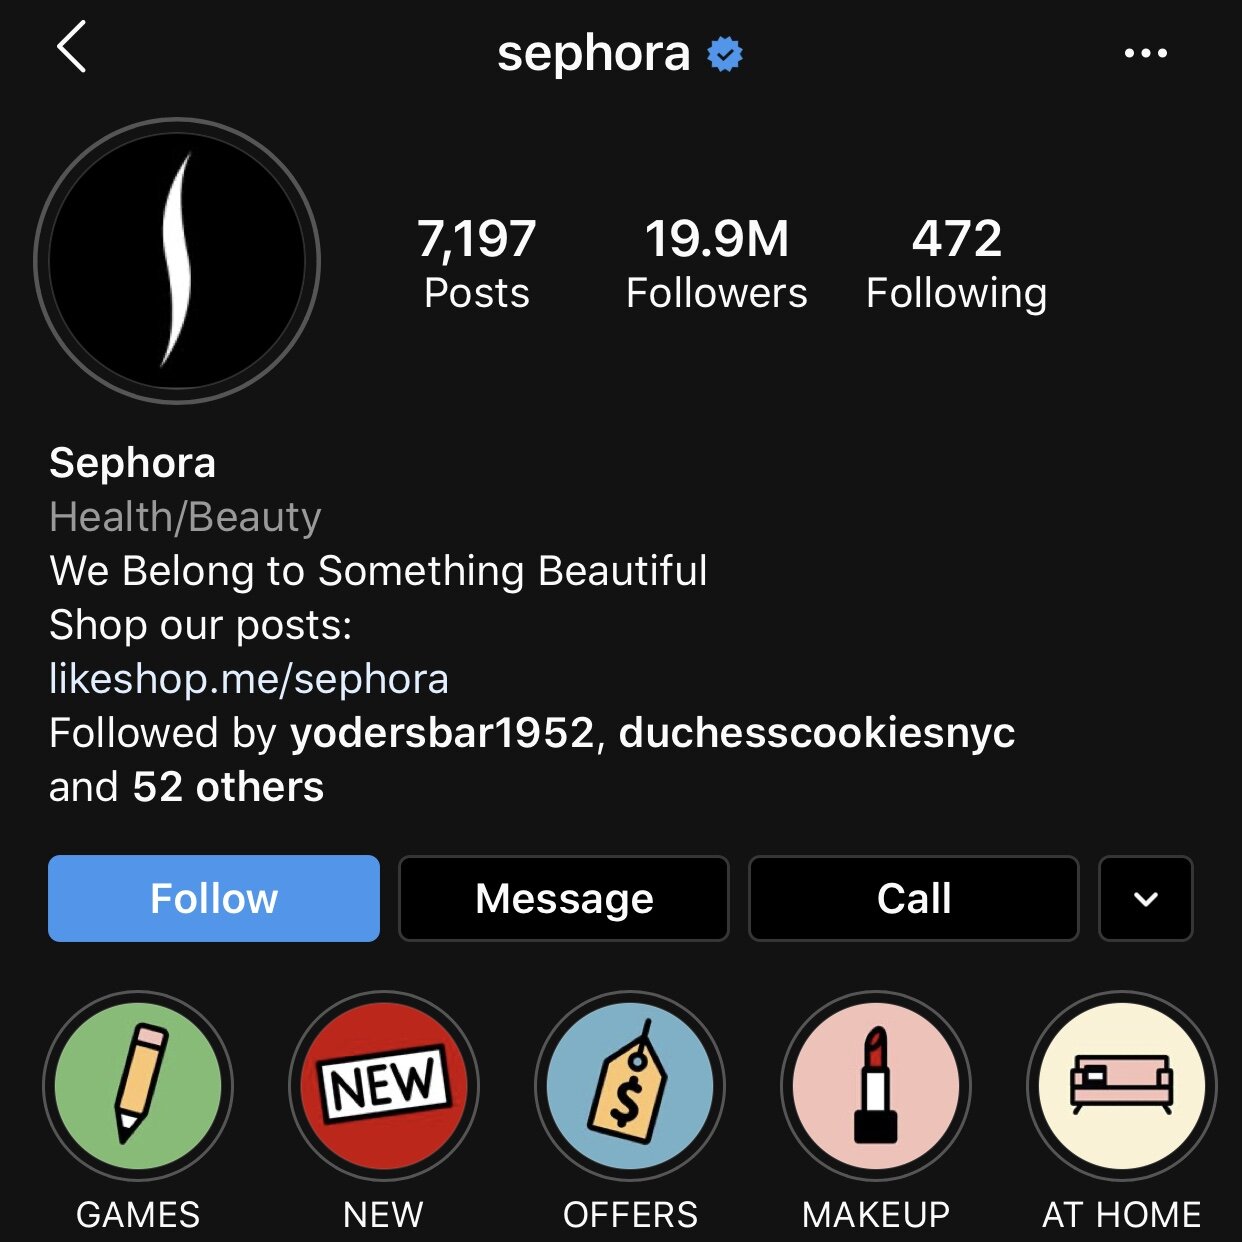
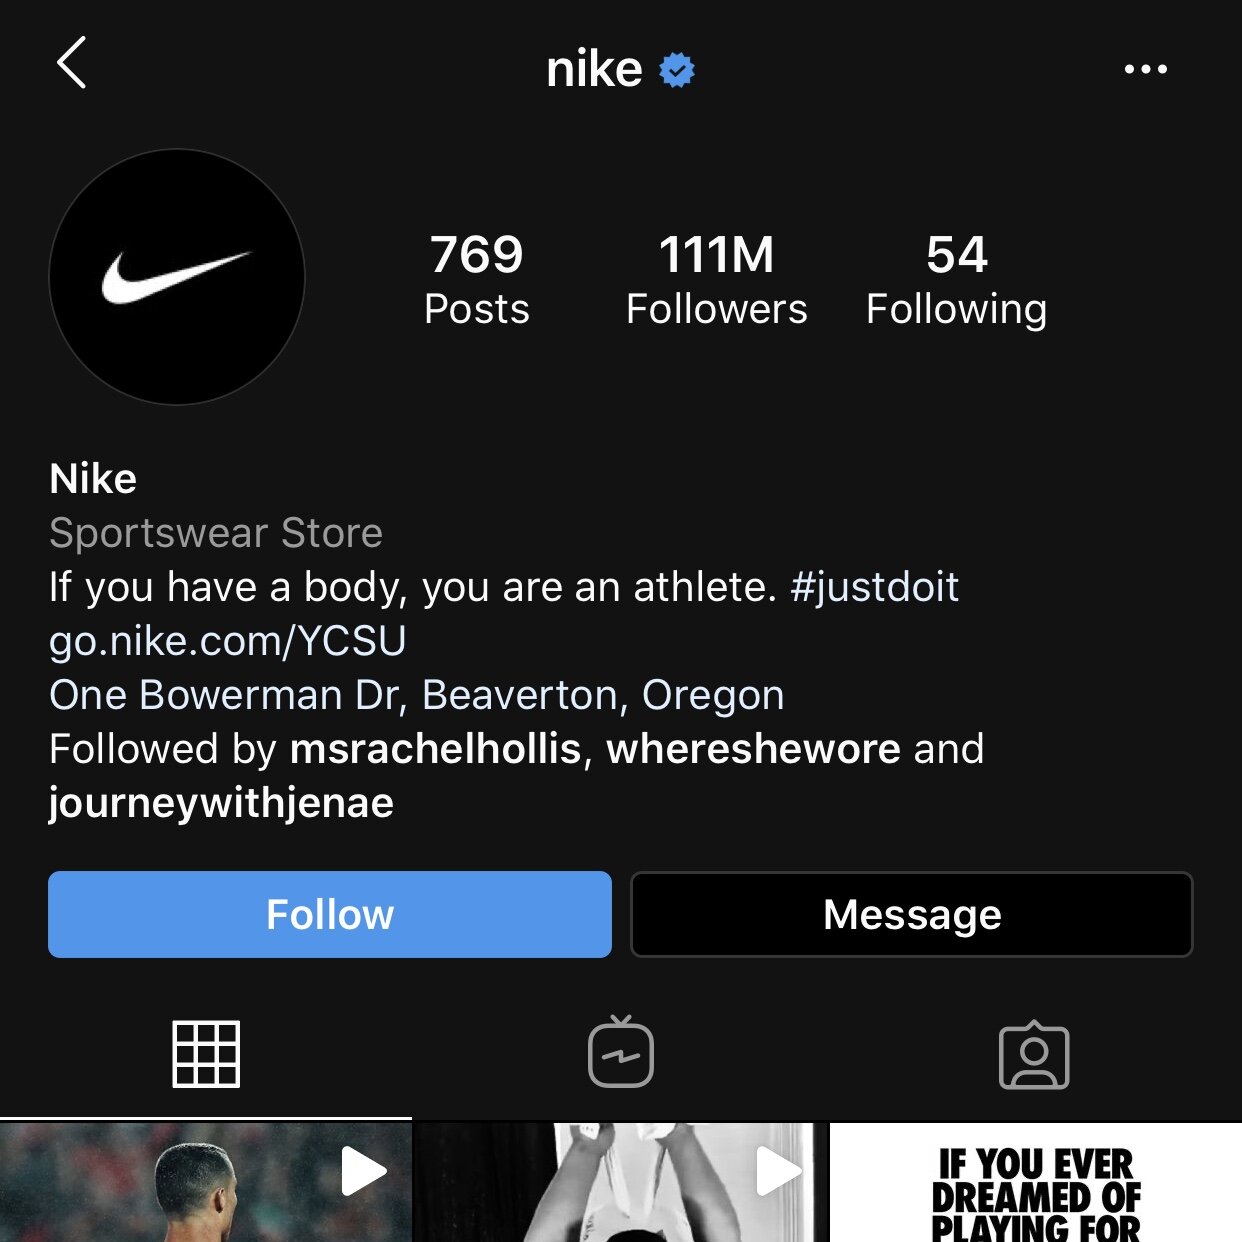
If you want to use your logo and it’s too long, consider using a symbol in its place:
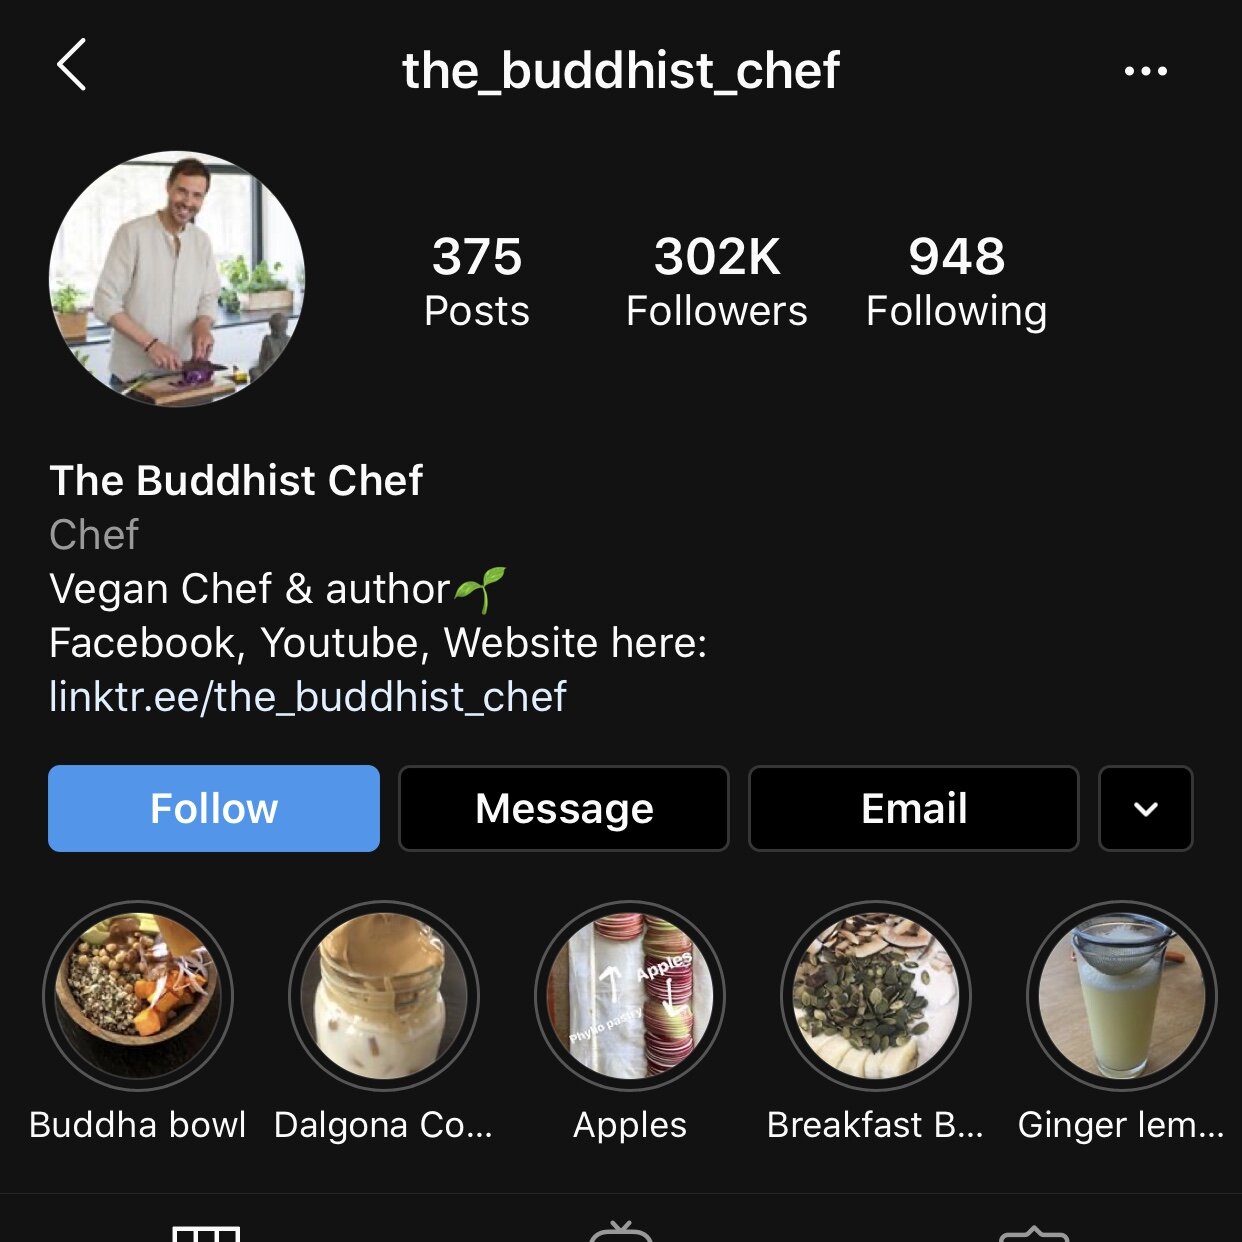
If your profession has notable tools of your trade, consider creatively integrating them into your photos:
2. Let me see your face.
Again, this sounds obvious but it’s important. Think about how small the Profile Photo gets when it’s up in the Instagram Stories Queue. If you use a full body shot or a group photo, your followers may not recognize you or your brand. I always suggest using a headshot but if you want to integrate part of your body, try to keep it from the waist up.
3. Use a recent photo of yourself.
If you have a professional headshot you want to use, make sure it is recent! I know, I know, it totally stinks when we outgrow our professional headshots and can’t afford new ones but your followers should be able to pick you out of a crowd from seeing your Profile Photo. There are so many professional actors that I know using their headshots from 10, 15, 20 YEARS ago. The same principle goes for weight loss/gain. Come on people! We all age. We all experience weight loss/gain. If you have aged or your weight has fluctuated so much that your followers won’t recognize you in person from your photo, you need to be using a different Profile Photo.
Now, let’s say that you don’t have any photos that meet the above criteria. Follow the steps below to create one!
4. Make sure you have that good lighting.
Natural light is the best for taking photos. If you have a plethora of natural light in your home, wait until the golden hour, turn off all artificial lights, and have a photoshoot. If you don’t have great lighting in your home, you can create it! I have a ring-light tripod that has 3 different light settings: warm, warm white, and white. If you are just starting out and don’t want to spend a lot of money, here is one that I found on Amazon that is fairly inexpensive and would give you a taste of what it’s like to own one. It’s nothing fancy like something a makeup artist might own but it gets the job done. Depending on your branding color palette, the amount of light you have in your home, and your skin tone, you can choose which color looks best. If you’re not sure what will look best with the rest of your Instagram feed, take a few shots using the different settings, filter them, and see what looks best!
5. Always use the rear facing camera.
If you are using a smartphone to take your own photos, which most of us are, use the rear facing camera. It takes better quality photos than your selfie camera (the screen view). Since you have a ring light tripod now, you have no excuse as to why you can’t use your rear facing camera.
6. Say CHEESE!
Studies show that smiling in photos attracts more attention and makes you appear more friendly and approachable. As a business owner, I would say that’s definitely what we are looking for! When my ideal client sees my profile photo on Instagram, I want her to think “Wow! That girl looks super fun. I HAVE to work with her.”
7. Grab a clicker and HAVE AT IT.
My ring-light tripod came with a bluetooth clicker. I use it all the time in place of having to constantly reset the self-timer. I create my photo set, put my phone in the tripod, take a few test shots, and then HAVE AT IT. When shooting, really go for it! Take a ton of photos using different angles and facial expressions. Now that you know the kind of work that goes into preparing for a photoshoot, you cannot have too many to choose from.
8. Please filter but don’t alter.
I am a firm believer in slapping a filter on every single photo I use. On my personal page, I make my photos look bright and sunny. On my business page, I use pink hues. This allows for consistency in my grid. I filter my profile picture the same way. DO NOT use face altering filters: ie snapchat filters in your Profile Photo! I am FB friends with people that I do not recognize in person. They have altered their face so many times in photos that they post online, they are unrecognizable. I’m not being dramatic. Literally, they would need a filter mask for me to recognize them in person. Don’t be that person. Those filters are fun to use but not when we’re trying to build the Know, Like, and Trust factor.
9. Center your face and crop it accordingly.
Now that you’ve taken a million photos, identified the chosen the one, and gently filtered it, the time has come to center your face inside the Instagram circle.
10. Consistency is key across all platforms.
Once you’ve exerted all of this time and energy to create THE Picture Perfect Profile Photo, utilize that sucker across all social media platforms.
I hope these tips were helpful in your quest to create the Picture Perfect Profile Photo. If you’re looking for more ways to spruce up your Instagram, check out this blog post: 5 Simple Strategies to Ensure Your Instagram Success.